Motorized Bike Part 2
by: modgrain
I rode the bike (with the motor) for the first time today… I think it’s going to be pretty fun and a decent commuter. Maybe a little loud, but not bad. When it’s opened up it’s about as loud as a chainsaw or lawnmower… no surprise. Here’s what I ran into when building the bike.
The bike and motor arrived no more than 5 days from the day I ordered. Bikesdirect has delivered 2 bikes to me now and they arrive as described. I would recommend them to anyone who’s interested in ordering a decent bike for less. The only downside is that you don’t get to test ride them beforehand, but if you do your research you can pick up a good bike online. The motor arrived in a small 26lb box and seemed to be in good shape.
Building the bike was straight forward. Most of the bike is already assembled in the box. The only things left to do are install the handle bars, front brake, seat and seat post, wheels, pedals, and fenders. It took about an hour. I didn’t realize this bike has a large oval type tube for the front part of the triangle on the frame. And the top tube went down farther than I thought it would. I got a little nervous about how the motor might fit.
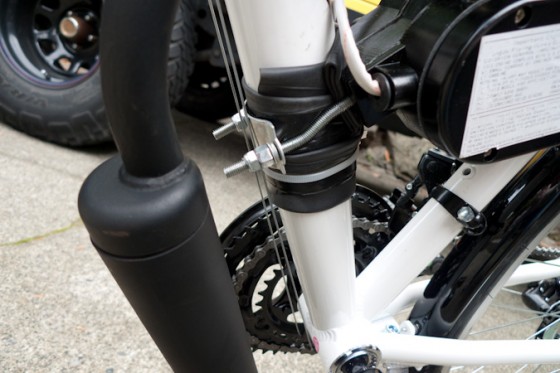
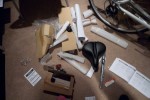
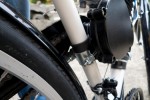
I unpacked the motor from ZoomBicycles and everything was in the box. I set out all the parts to familiarize myself with the kit. I put the bike up on a workbench and began to fit the motor. It was obvious that it was going to be real tight. It had to be low enough to fit the carburetor. The large frame adapter that came in the kit raised the motor up an inch and would not work. It seemed that none of the mounting hardware that came with the motor was going to work for this bike. I had to take a trip to the hardware store…. and ended up getting 3 feet of threaded 6mm Rod. The same size as the threaded bolts already in the motor. There might be a better solution in the future (I might build wood mounts that work and potentially cast them or maybe even just try the wood.) For now this should do it… long bolts bent around my oval shaped frame. I used an old tube for all the parts sitting against the frame… one, to keep it from scratching and two, for vibration control.
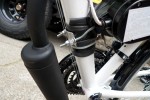
After a couple of hours of messing around with it I finally got it in and ended up using the smaller metal brackets from the kit on the tube under the seat.
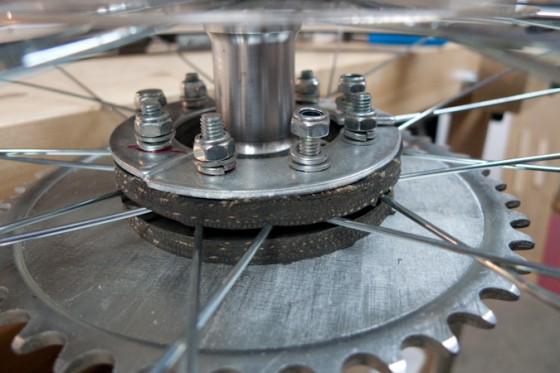
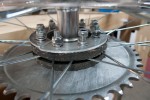
From this point, I followed the instructions that came in the box and proceeded to install the chain ring to the rear wheel. It wasn’t too hard. Aligning it so that it didn’t wobble took a little tweaking.
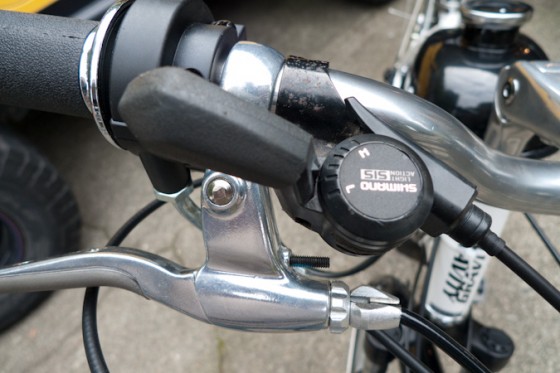
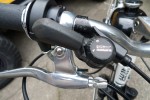
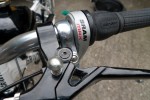
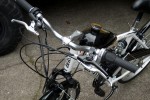
I ran into a problem when trying to fit the throttle handle onto the handle bar. The bike came with a SRAM twist shift that would not fit with the throttle/grip. I took a trip to Recycled Cycles in Seattle and found a used 7 speed shifter for $10. It slid over the handlebar and left enough space for the grip.
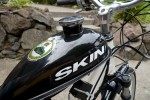
The clutch install was straight forward…. I chose to leave one of the springs off of the cable… it just made it harder to pull and I didn’t see a real benefit. The carburetor install was easy too… just slip it on to the intake manifold tighten the screw and hook up the fuel line/filter. The tank mounted easily with a little layer of rubber under to hold it off the frame and one cable.
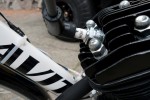
Ok… now on to the electronics. I mounted and hooked up CDI unit. I made another trip to a auto parts store and picked up a better spark plug (NKG B6HS) and a plug wire/cap. I unscrewed the original plug wire out of the CDI unit and screwed the new one in. A simple upgrade that I read about… and cost less than $10. I then plugged in the kill switch as described in the manual. All set! Well, not so fast. I mixed up my fuel at 24:1 (the manual to break in the motor with 16:1 for 2 gallons…. many blogs I visited and read said 24:1 is sufficient). I hopped on the bike and nothing… popped the clutch… rode downhill with the compression of the engine pumping and couldn’t get the bike to turnover. I tested the plug outside of the motor and could not see a spark. Checked the wiring. Then did a little research online. I found the what the OHMs should be for the Magneto and for the CDI unit. I couldn’t get a conclusive reading with my OHM meter, so I decided to email Zoom Bicycles customer service department.
To my surprise (I read many blogs that many motor companies don’t respond) they replied with in 24 hours and told me to do a couple tests to figure out which part was bad. Checking the spark in the same by pulling it, grounding it, and turning the rear wheel. The second test was to hold the black and blue wire coming from the motor (magneto) and turn the wheel. If I felt a current then the magneto would have been good… I didn’t feel anything. I still didn’t know which part was faulty. I emailed ZoomBicycles again and told them the tests that I did and asked them to send both parts if they would. Again to my surprise, I got a email that day that said, the parts were shipping that same day.
ZoomBicycles has been great responding to my problems.
I got the two parts 3 days later, put them on, turned the fuel on, pumped the primer button, put the choke up, pedaled down the road and let the clutch out… the motor started right up! After a couple miles, I adjusted the idle screw a bit… but for the most part the thing ran great. I’ll post again with an update.
If you have install questions… let me know.
- Dutch BIke Gravity from bikesdirect.com
- Unpacking BIke
- Installing Chain Ring
- NGK B6HS Sparkplug Upgrade
- Used 7-speed Shifter
- Left S-RAM Shifter
- Custom Fitted Chain Guard
- Chain Tensioner
- Custom Front Mount
- Custom Rear Mount
- Gas Tank Decor
- Alta Fender
- Handlebars Setup



 RSS
RSS
modgrain Said,
October 6, 2010 @ 8:17 pm
I’ve got about 20 miles on the bike… still using my first half gallon of gas! A couple things to note: About 5 miles in on one of my 30 minute break in rides the end of the muffler popped off! And, shaaazaam, this thing took off like a race horse. But, it was loud enough to scare the socks off of you. I found the piece/baffle that fell off and secured it back on with another a lock washer, and two nuts locked against each other.
Another problem I encountered is that it was running pretty darn good, but now it seems to bog down a bit on the hills or at 75% throttle. I’ll be investigating this more as I break it in. Probably a float or fuel problem.
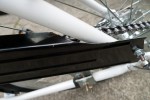
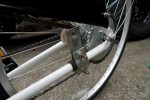
Also, I decided to take 2 more links out of my chain so that the tensioner could be adjusted to a better location (farther forward from the rear sprocket). In doing so, this created a slightly different angle on how the chain tracked, so bending the tensioner bracket and adding a couple hose clamps around my rear frame (to protect the bike from chain slap) was needed.
Went through all the bolts and nuts and tightened them up too.. found a couple that were loose. (I’m doubling most of the nuts to lock them together a little better). Plus, if I lose or need one, I might have extras to move around. I also, opened up the clutch cover and put a little grease on the gears in there… to help quiet the gearbox down a little.